Table of Content
Ian Buckley is a freelance journalist, musician, performer and video producer living in Berlin, Germany. When he's not writing or on stage, he's tinkering with DIY electronics or code in the hope of becoming a mad scientist. Switch back to the SSH terminal, and navigate to /home/pi.
To get this credentials file click the Download OAuth 2.0 credentials. This file is very important so, keep it somewhere safe. If you don't want to use the monitor, keyboard, and mouse at next startup, enabling these options would allow you to remote access the Pi. These options are under Preference/Raspberry Pi Configuration, then go to Interfaces and checkmark the SSH and VNC options. This step is important to get the Raspberry Pi Zero Docking Hub audio to work with the Google Assistant software.
Step 4: Create Your Server
Default keyword for playing music from YouTube with autoplay is Autoplay and Stream. Default keyword for playing music from YouTube without autoplay is Stream. Connect your peripherals such as mic, speaker, keyboard, mouse, monitor and then boot the Pi. So this is how we can install Google Assistant on Raspberry Pi and can turn it into a Google Home by connecting a Speaker and microphone to it. Whenever you want to launch Google assistant, just get in the environment and follow the below steps.

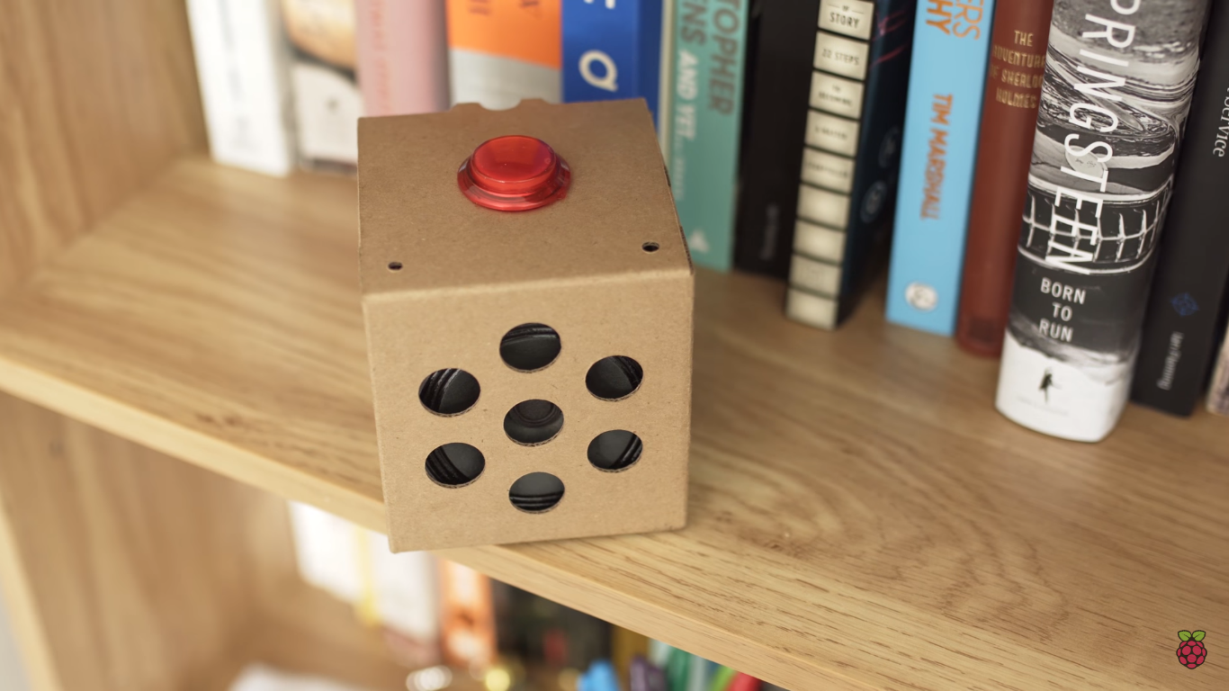
— which you can place anywhere at your home and it will do some amazing things for you. It will save your reminders, shopping lists, notes and most importantly answers your questions and queries based on the context of the conversations. Use the Home app to control on/off, volume, playback, inputs, and more for your connected streaming and media devices.
Step 3: Setup Google Assistant in Pi
It connects and controls your Google Home and other Matter-enabled devices, so your smart home is faster to set up, and more responsive and reliable than ever. Use the terminal or the SSH session you set up in this step to enter the commands in the rest of this guide. You have your server running, and it can control a relay.
You need then to create the below mentioned storylines that will be later connected to IFTTT applets. It’s a great way to retrofit your old appliances and trigger them remotely, for instance with your Google Home. We recommend you install it on appliances or buttons you can either hardly reach or to trigger buttons that are in another room. To run commands on the Raspberry Pi, you need to open the terminalon the device or use an SSH connection. You must use an SSH connection from your development machine if you do not have a monitor, keyboard, and mouse connected to the Raspberry Pi. While the developers are yet to comment on the issue, we came across a workaround that might help users control their devices.
Install Google Assistant on Raspberry Pi and Turn into Google Home Speaker
Use the google-auth-oauthlib with the credential JSON file downloaded earlier to authenticate your Raspberry Pi. That is everything needed to get up and running. If any of the installations fail, check the spelling and spacing thoroughly. When you've entered your version of the above code, press Ctrl + X to save and exit. HDMI and other output sources will also work, though it will require modifications to the sound setup below. This app is hit or miss on whether it will work properly.
The main step is to build an Node + Express server that is able to handle POST requests. So, there are lots of guides on getting started with relays on the Rasberry Pi. I mostly used Youtube tutorials like this one to get started. After the setup, you'll get something like this in your terminal, then all things working good. Be inspired by top smart home brands who are delivering the best smart home experiences for their users on Google. Integrate your devices with Matter and connect your Matter devices with Google .
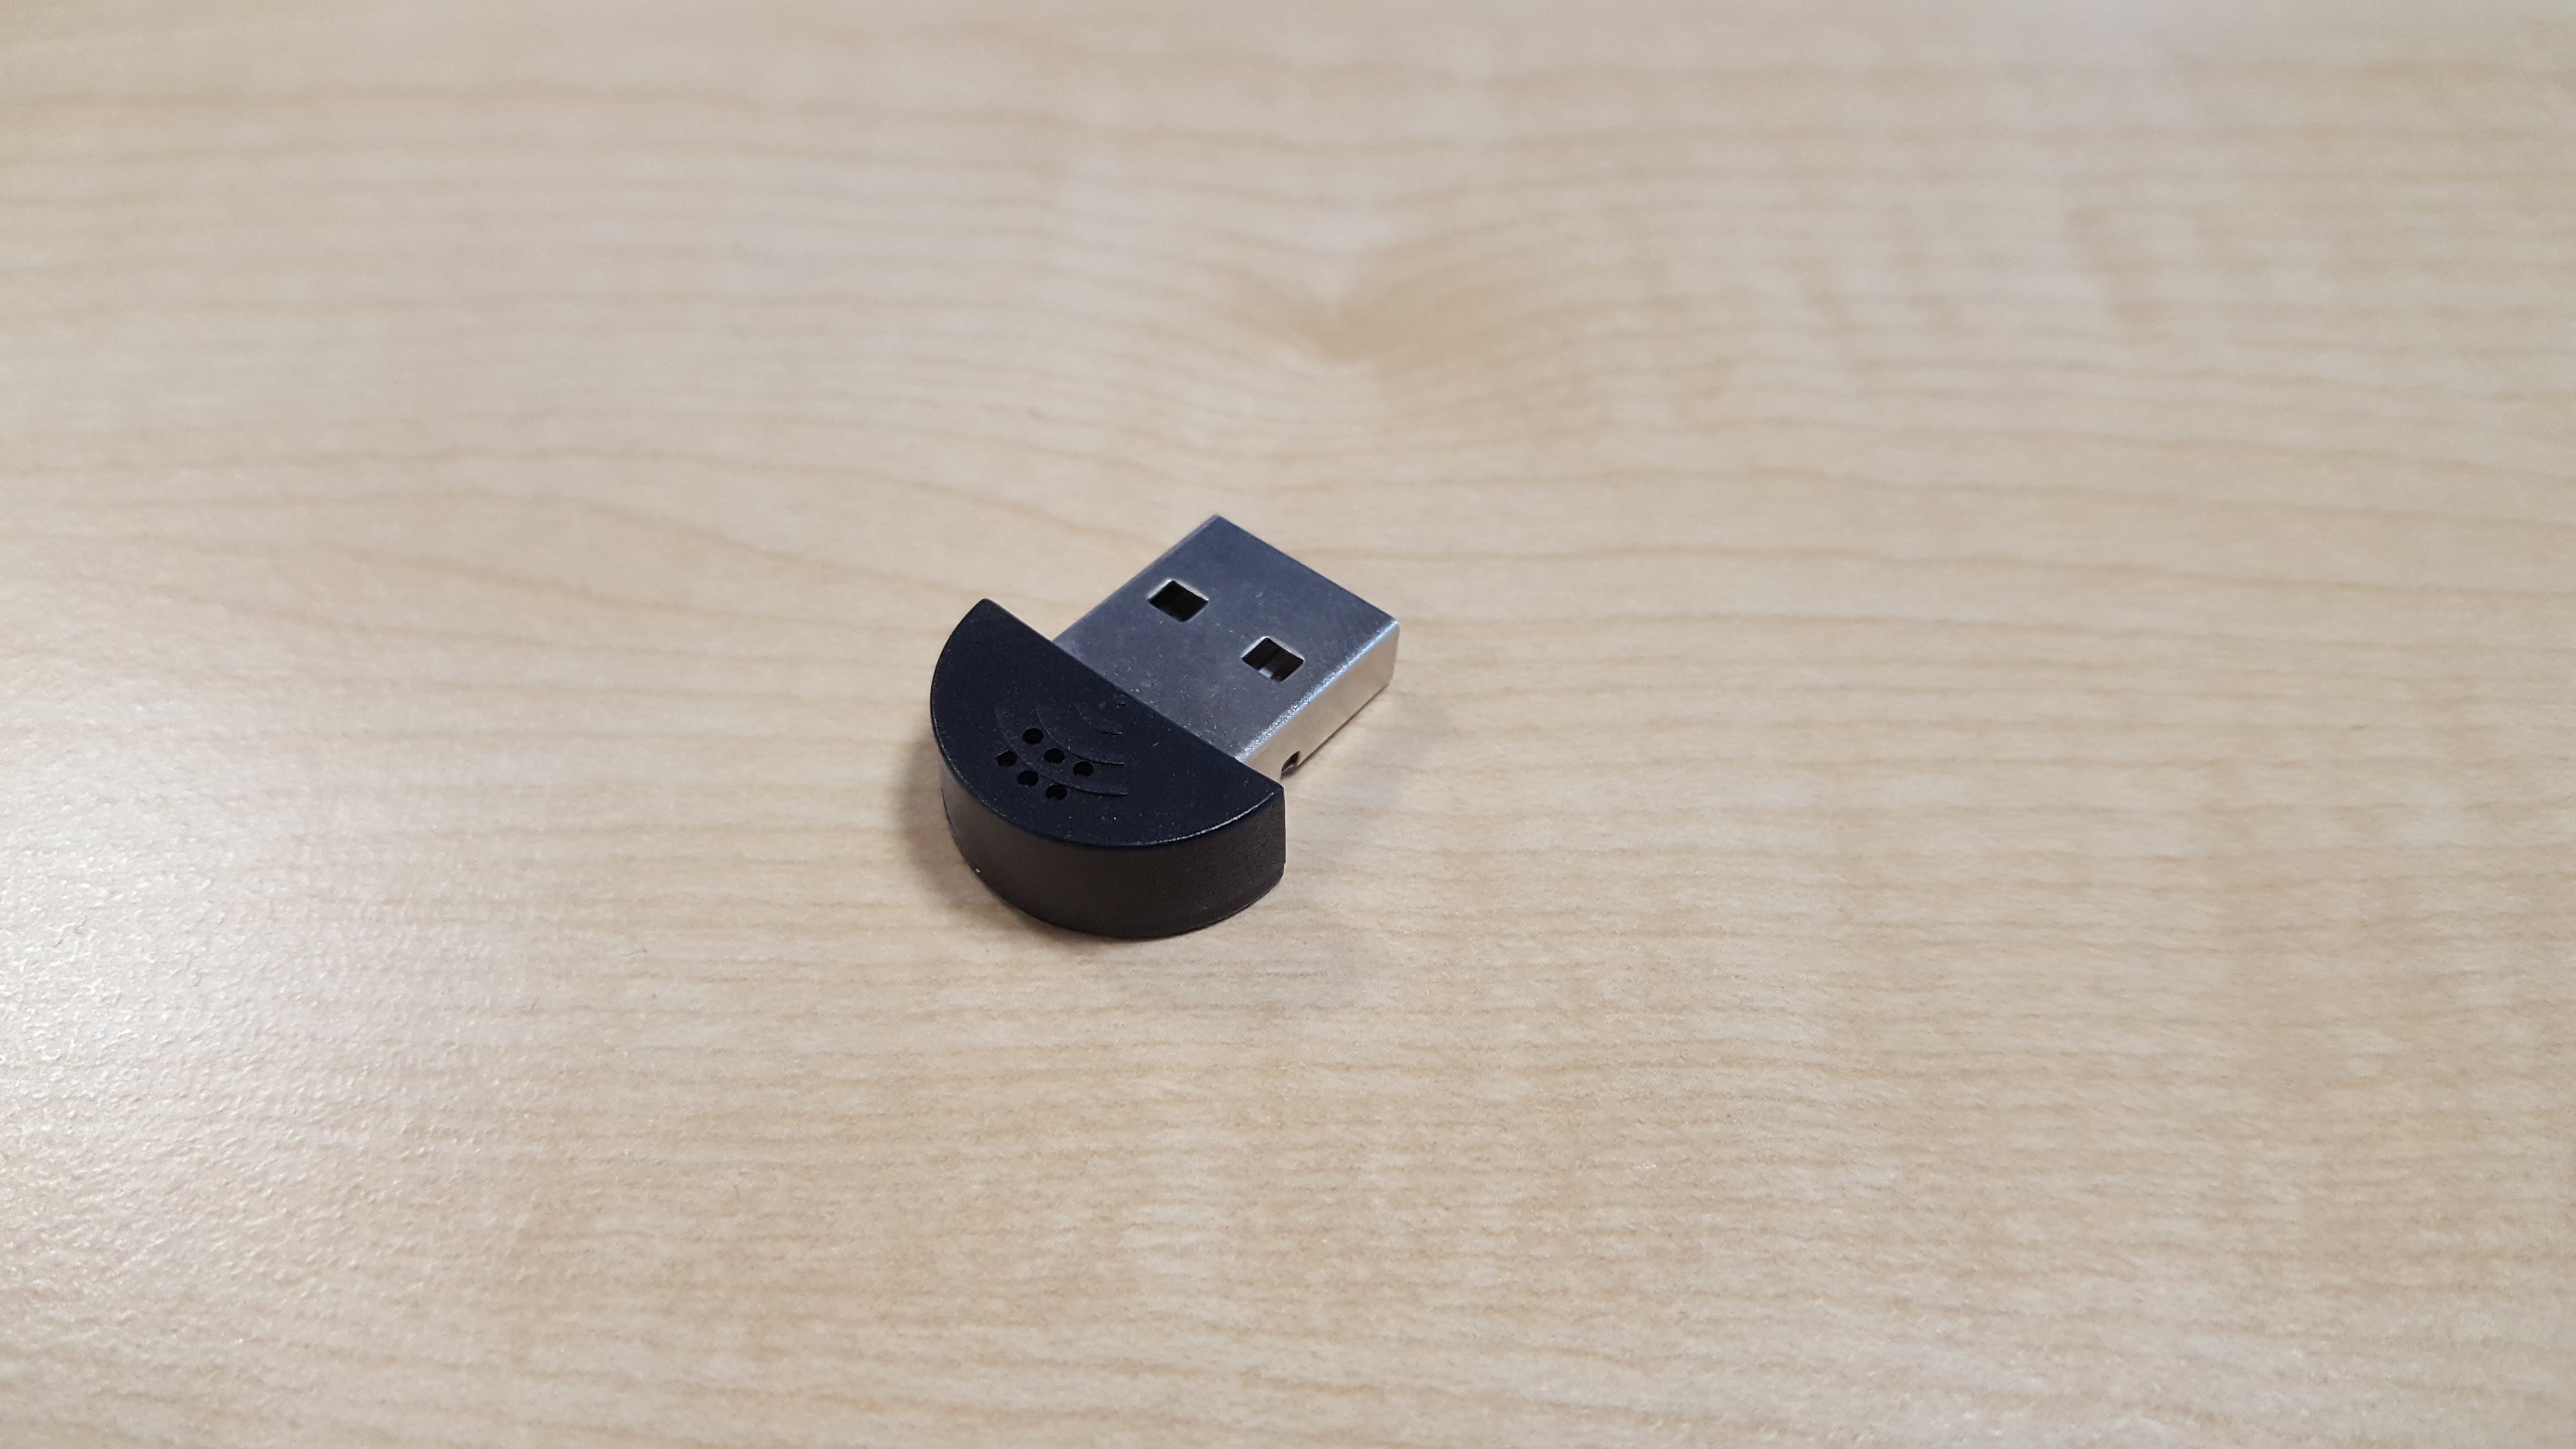
In the browser, login to your Google account, if you have multiple accounts only select the one you set up your API key with. If you have USB 2.0 microphone then steps followed are same to check the microphone. We also assume that your Raspberry pi is already set up with an Raspbian OS and is connected to the internet.

And Thread helps extend the overall strength, capability, and reach of your smart home. The totally redesigned app has a new five-tab layout that’s easier to navigate. Pin your favorite devices to your home view to see multiple camera live streams right when you open the app.
The technology these devices run on is available---at least in part---to everyone. Google's Assistant SDK allows you to use the service on your own devices. This tutorial covers how to set up the Google Assistant on your Raspberry Pi, and voice activate an LED via GPIO pins. Oogle Home is a beautiful device with built-in Google Assistant — A state of the art digital personal assistant by Google.
For example, Autoplay and Stream I got you command will play the requested I Got You and after the end of the track will autoplay susequent tracks. The number of autoplay tracks has been limited to a maximum of 10. This can be changed the under the YouTube_Autoplay function in the actions.py script. Open the service files in the /home/pi/GassistPi/systemd/ directory and add your project and model ids in the indicated places and save the file.
Don’t worry though- it’s possible for you to do so without climbing out of those soft sheets. Here’s how you can set up your room to be infinitely cooler. Default command for casting YouTube videos is Play Desired Video on Chromecast, with Chromecast as the trigger word.


No comments:
Post a Comment